How to Make Candles (with Dollar Store Supplies)
Find out how to make colorful dip dye mini taper candles that jazz up your life (and only cost a few bucks).
THE INSPIRATION
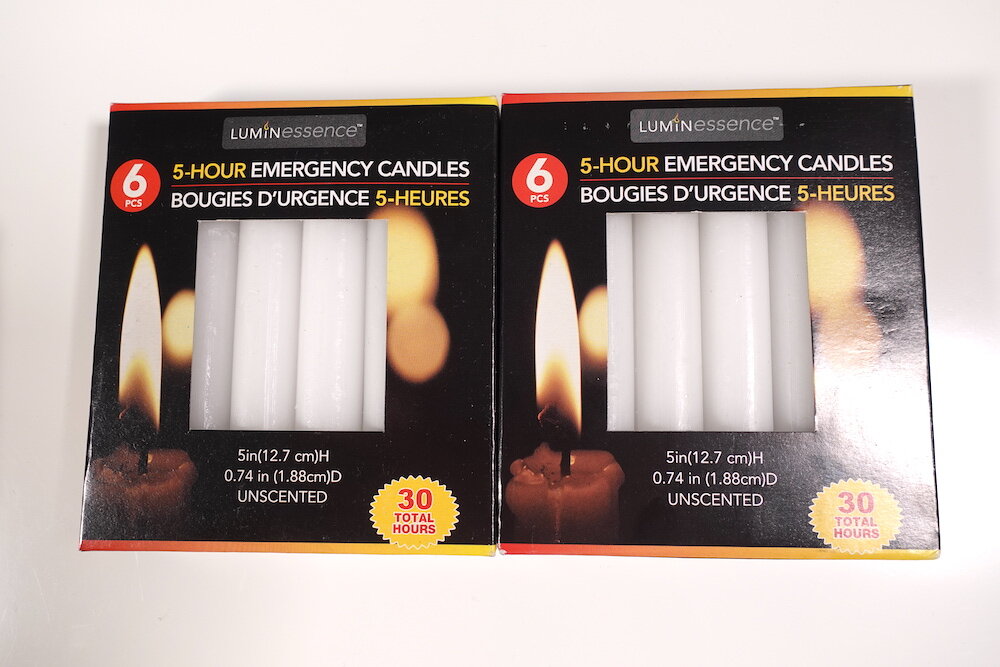
I love taper candles, but full-size tapers can be a little extra for someone who lives in an apartment. They’re huge, they’ll set your cat on fire, and they’re often pretty boring. I’m a colorful maximalist, so I wanted to hop on the taper trend—but make them a little more fun and apartment size. While wandering the aisles of church (aka the Dollar Tree), I saw some of those god-awful scented wax melts that no one seems to use (yet are sold everywhere). TBH, I didn’t smell them, but I did dig the colors: pink, peach, lime green, etc. This immediately gave me the idea to makeover the boring 12-hour emergency candles I noticed on the very same aisle.
SUPPLIES
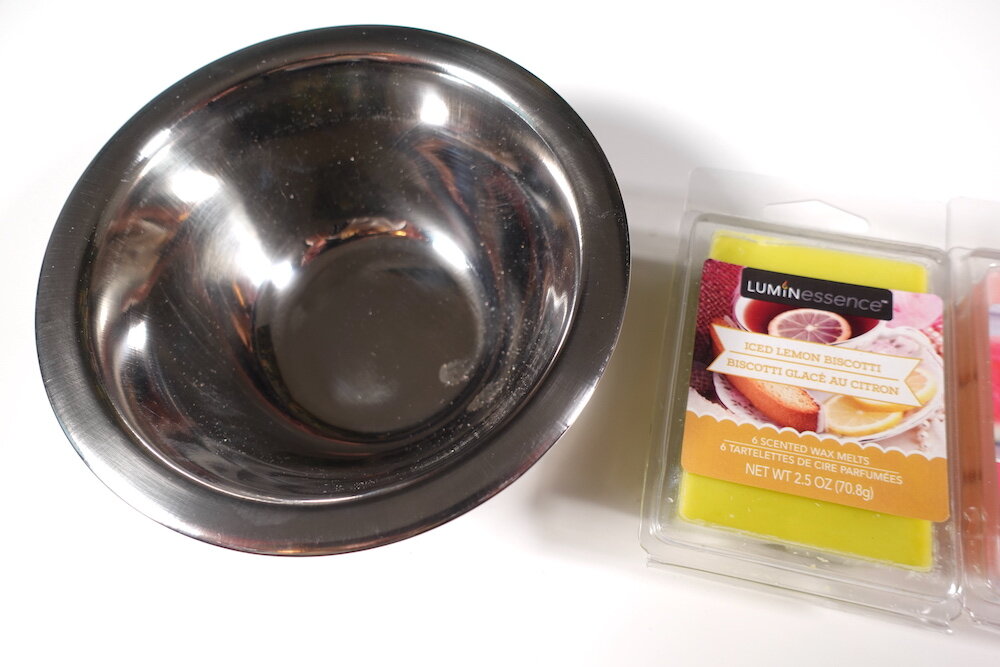
Candles:
Oven mitt (to transport hot bowl)
Trivet (to place your hot bowl on)
Bowl of rice (to stand the candles in while they dry*)
Candle holder
Dollar store wood plaques
Gorilla glue
Spade bit
Paint
*I used sand at first but instantly regretted it and subbed with cat litter. Rice is much better.
THE PROCESS
This process to make candles is easy AF—and super economical. You can make 12 candles (or more) with just a few dollars. This makes them a truly simple, easy, and cheap DIY gift that looks perfectly handcrafted—but not janky. Know what I mean?
DIY DOLLAR STORE CANDLES
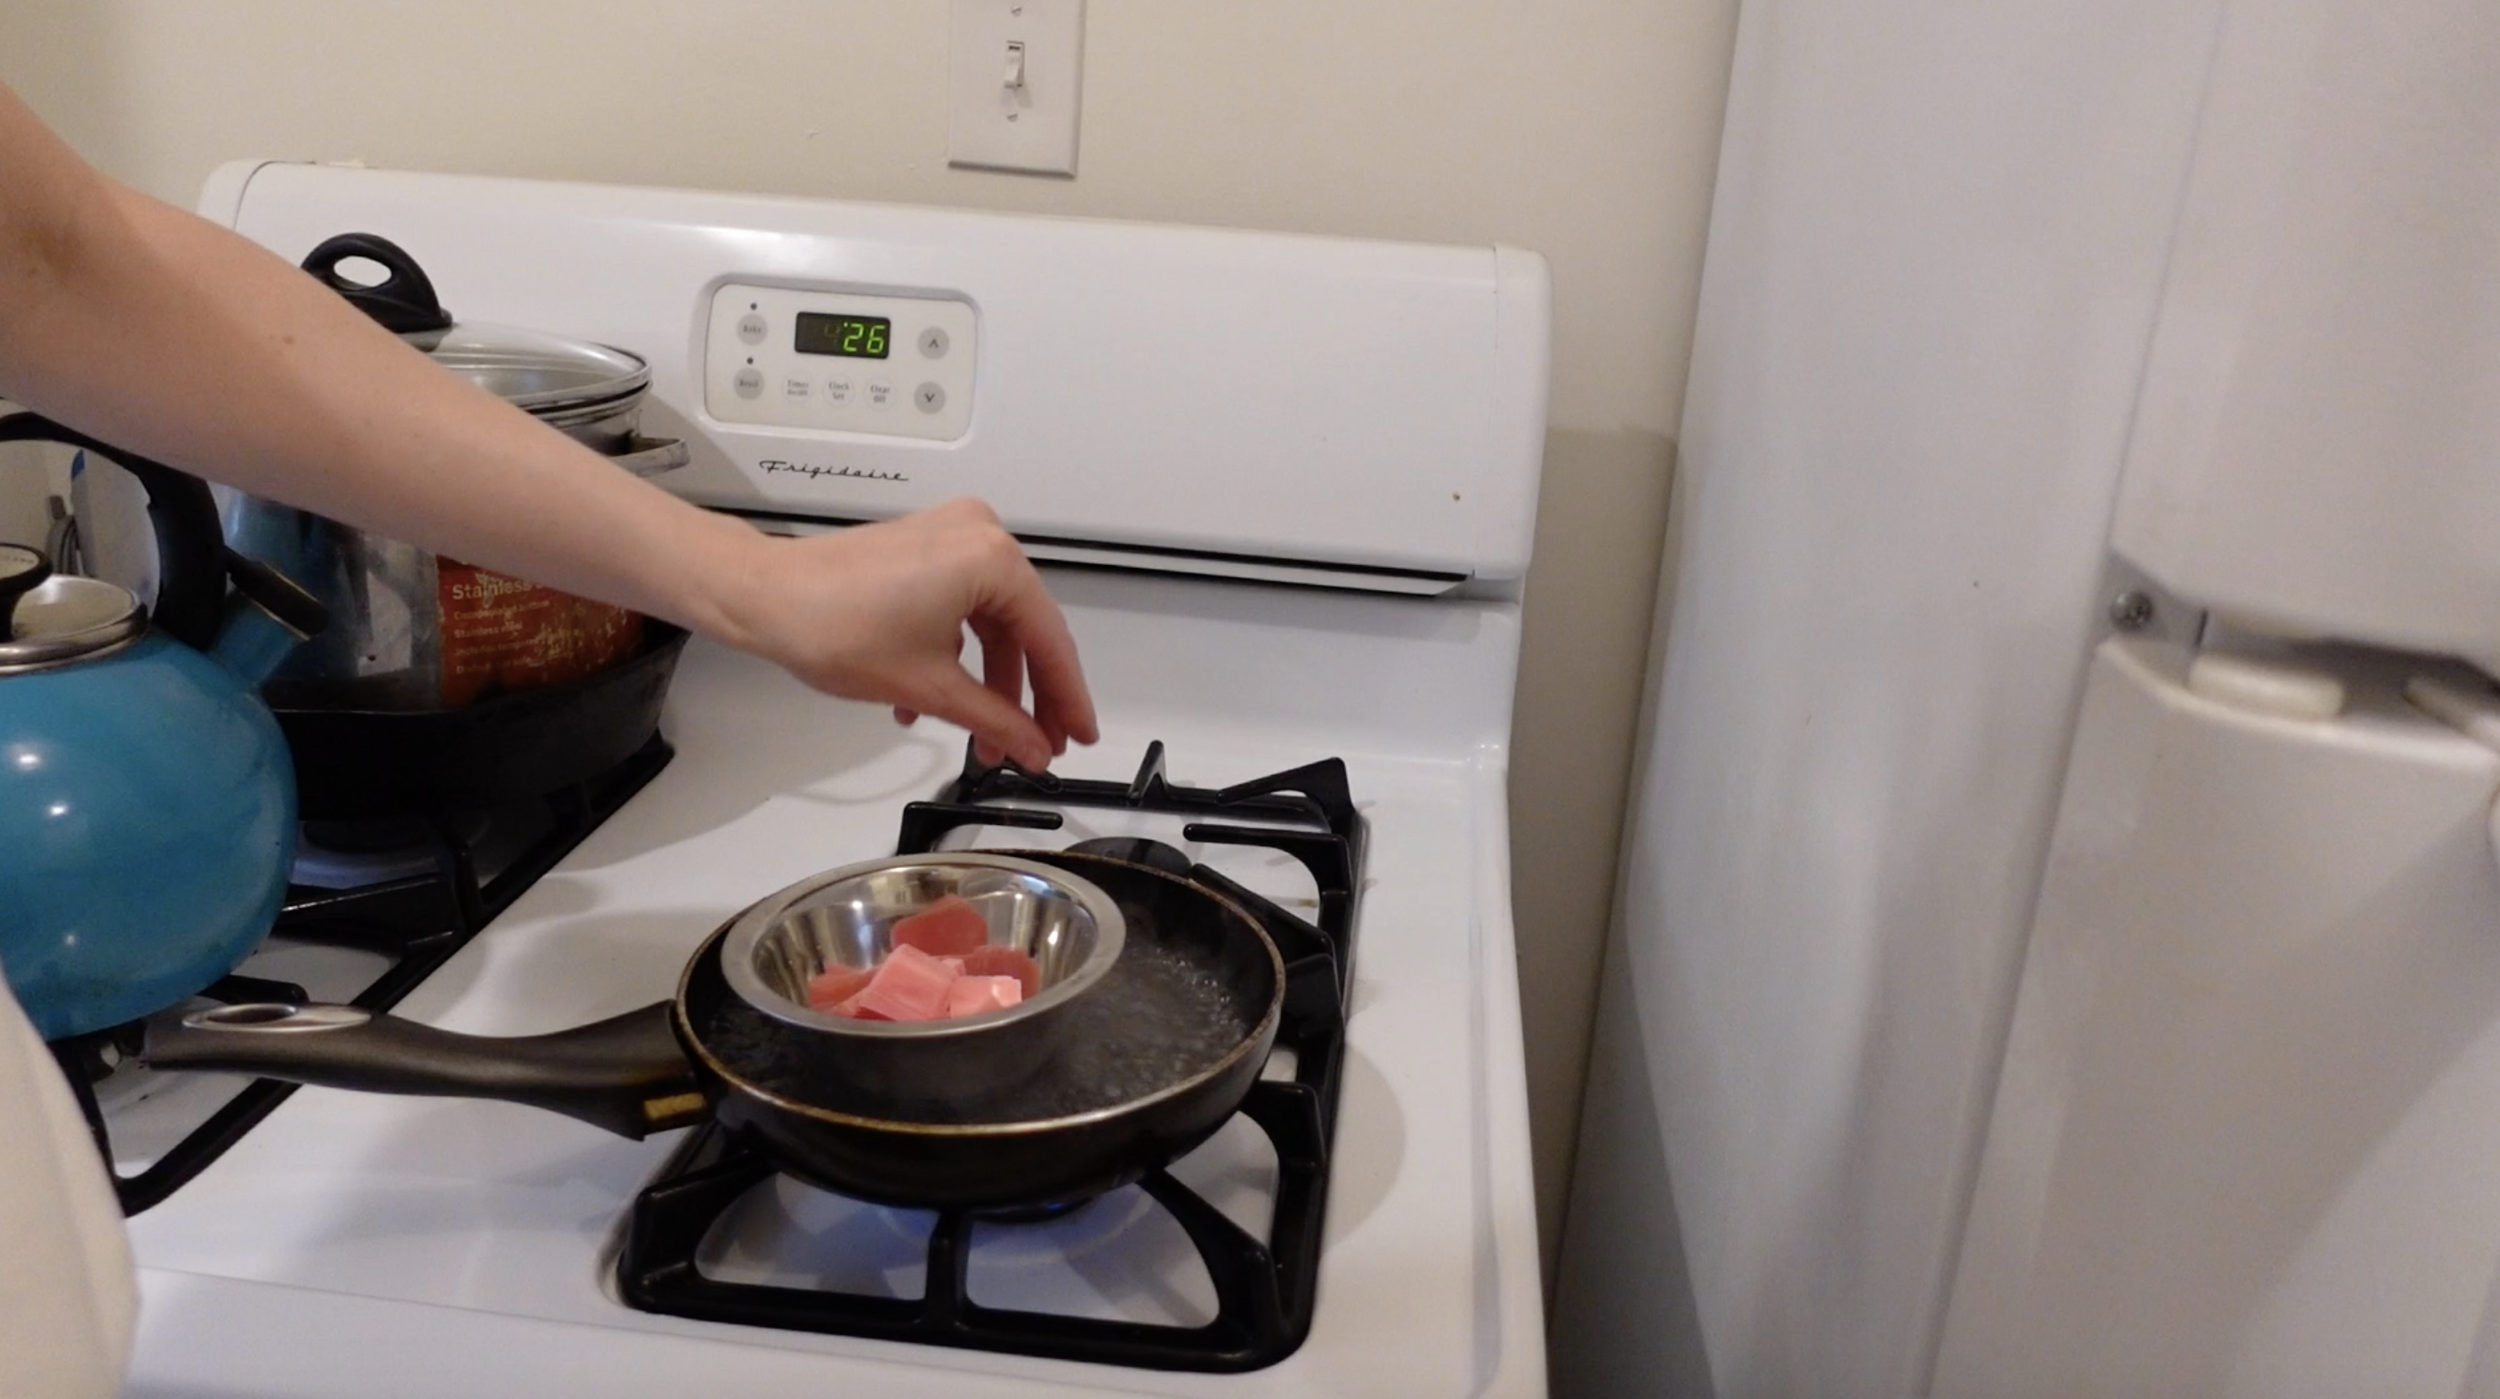
STEP 1: Melt your wax melts.
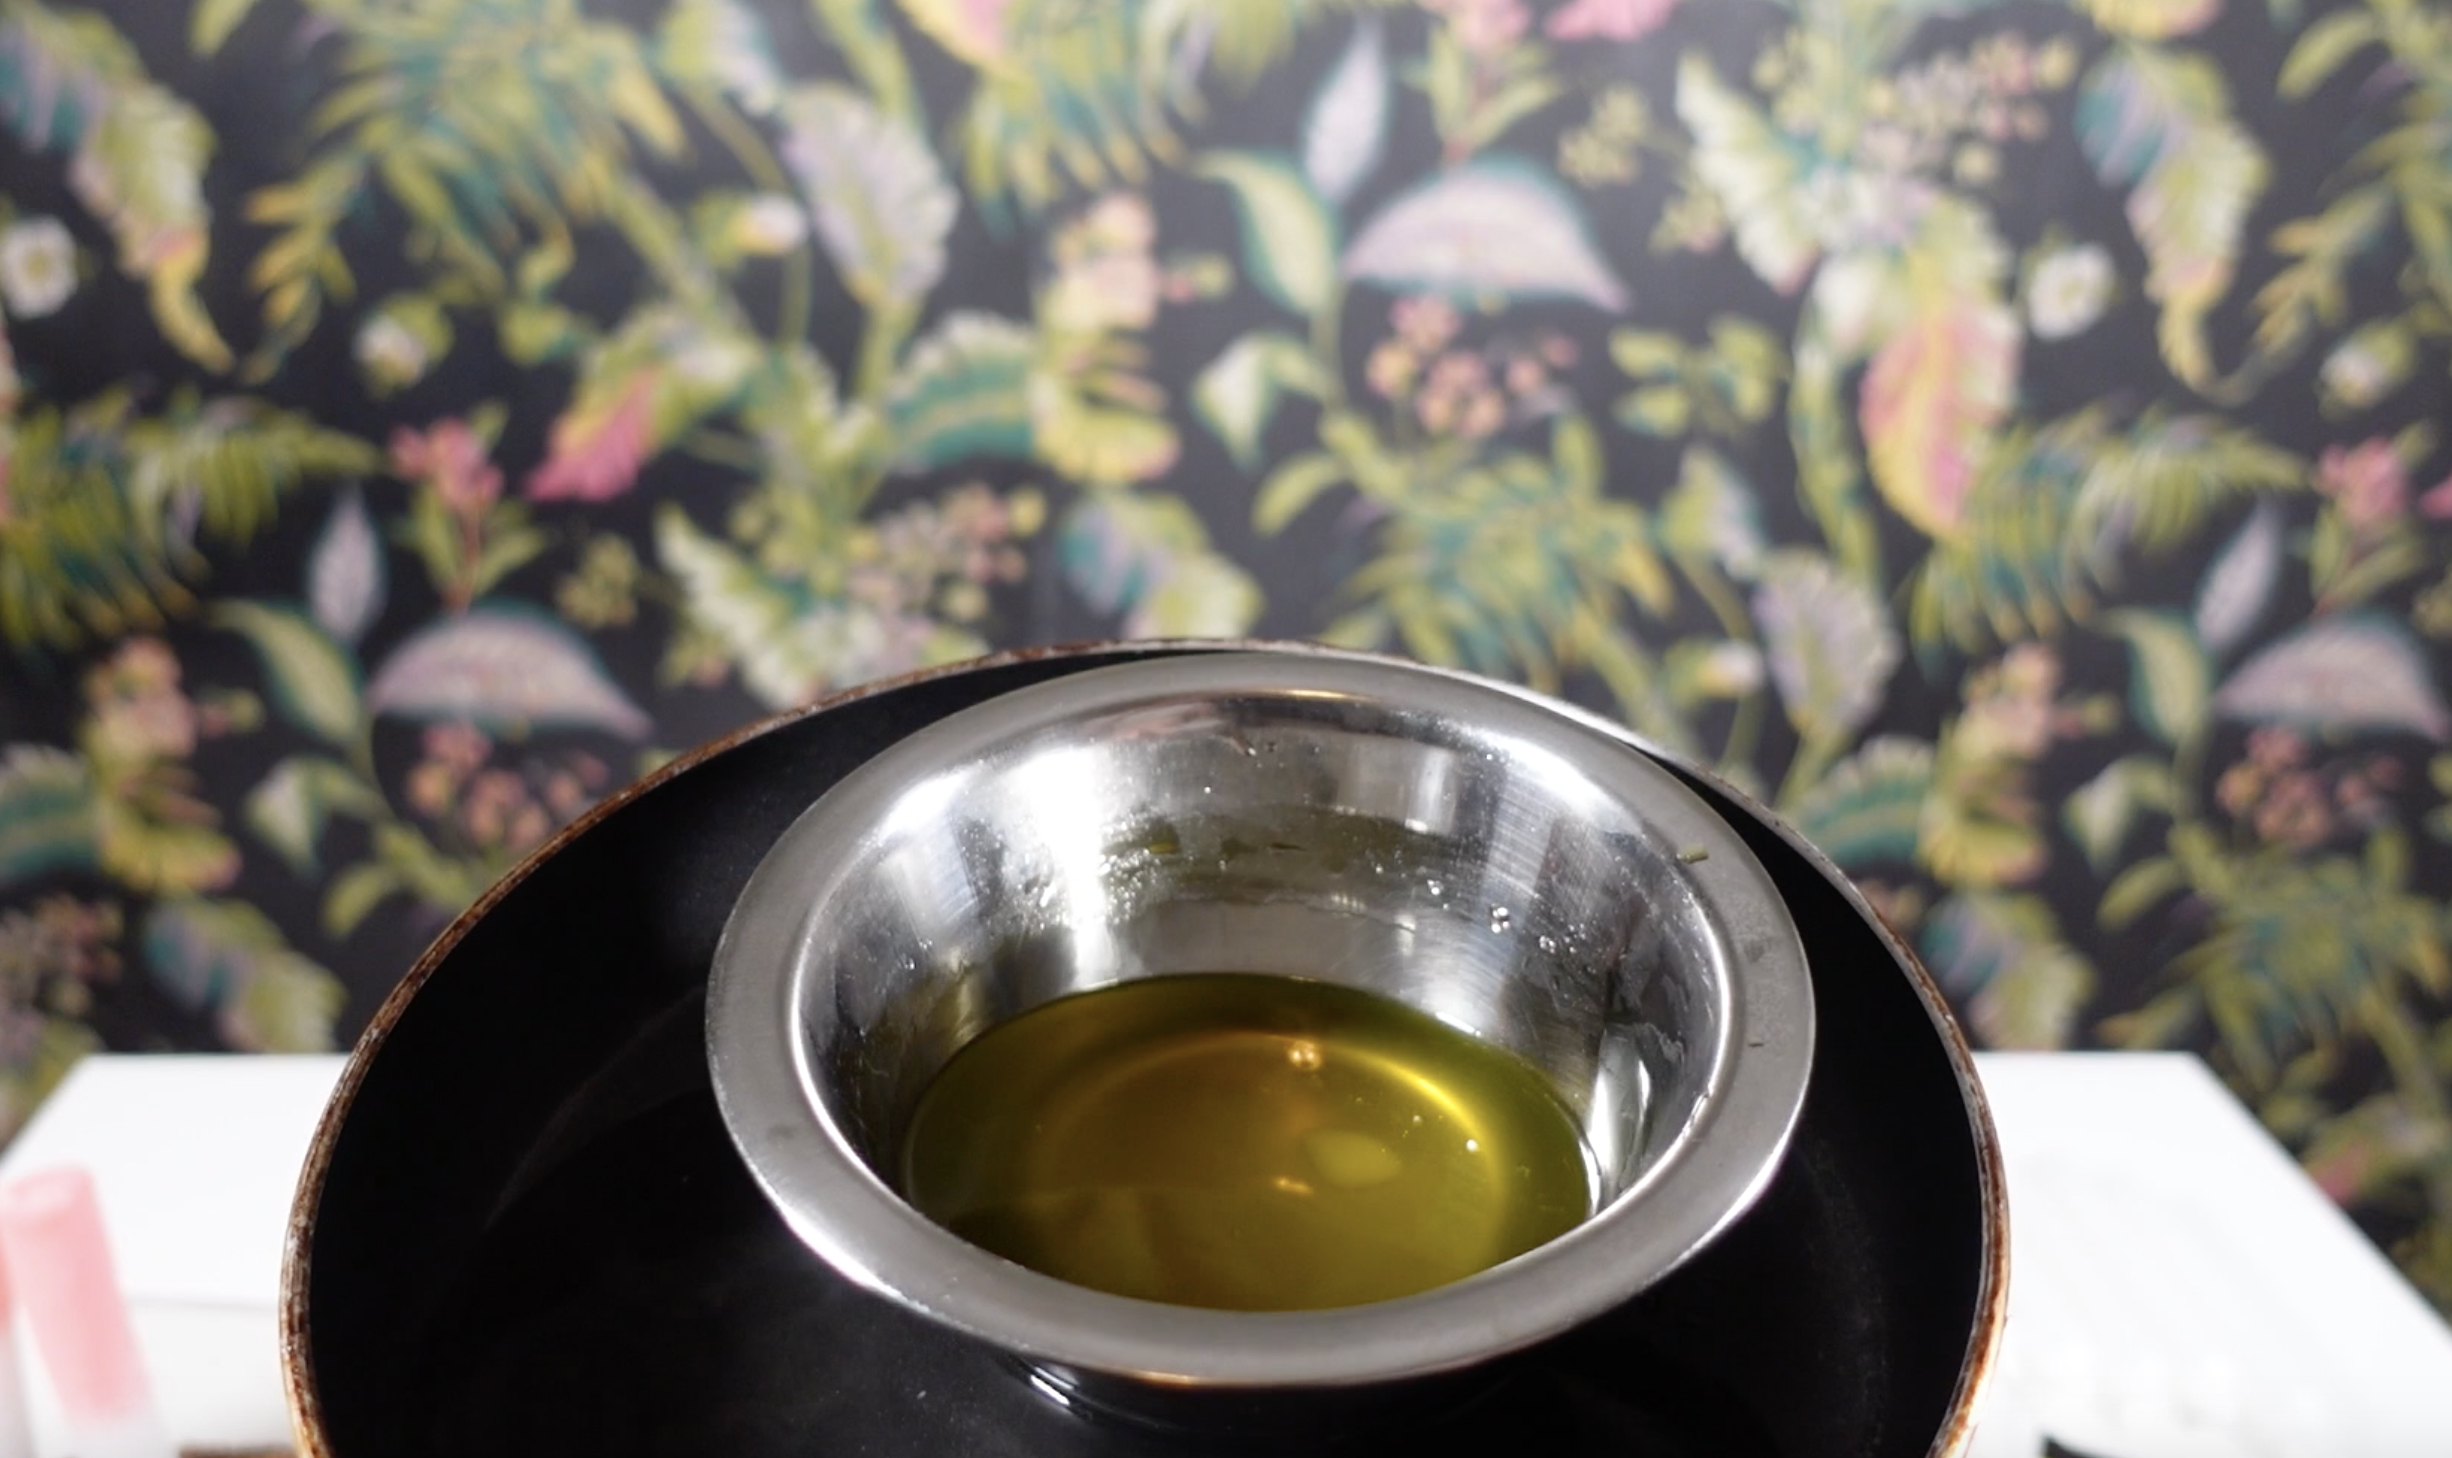
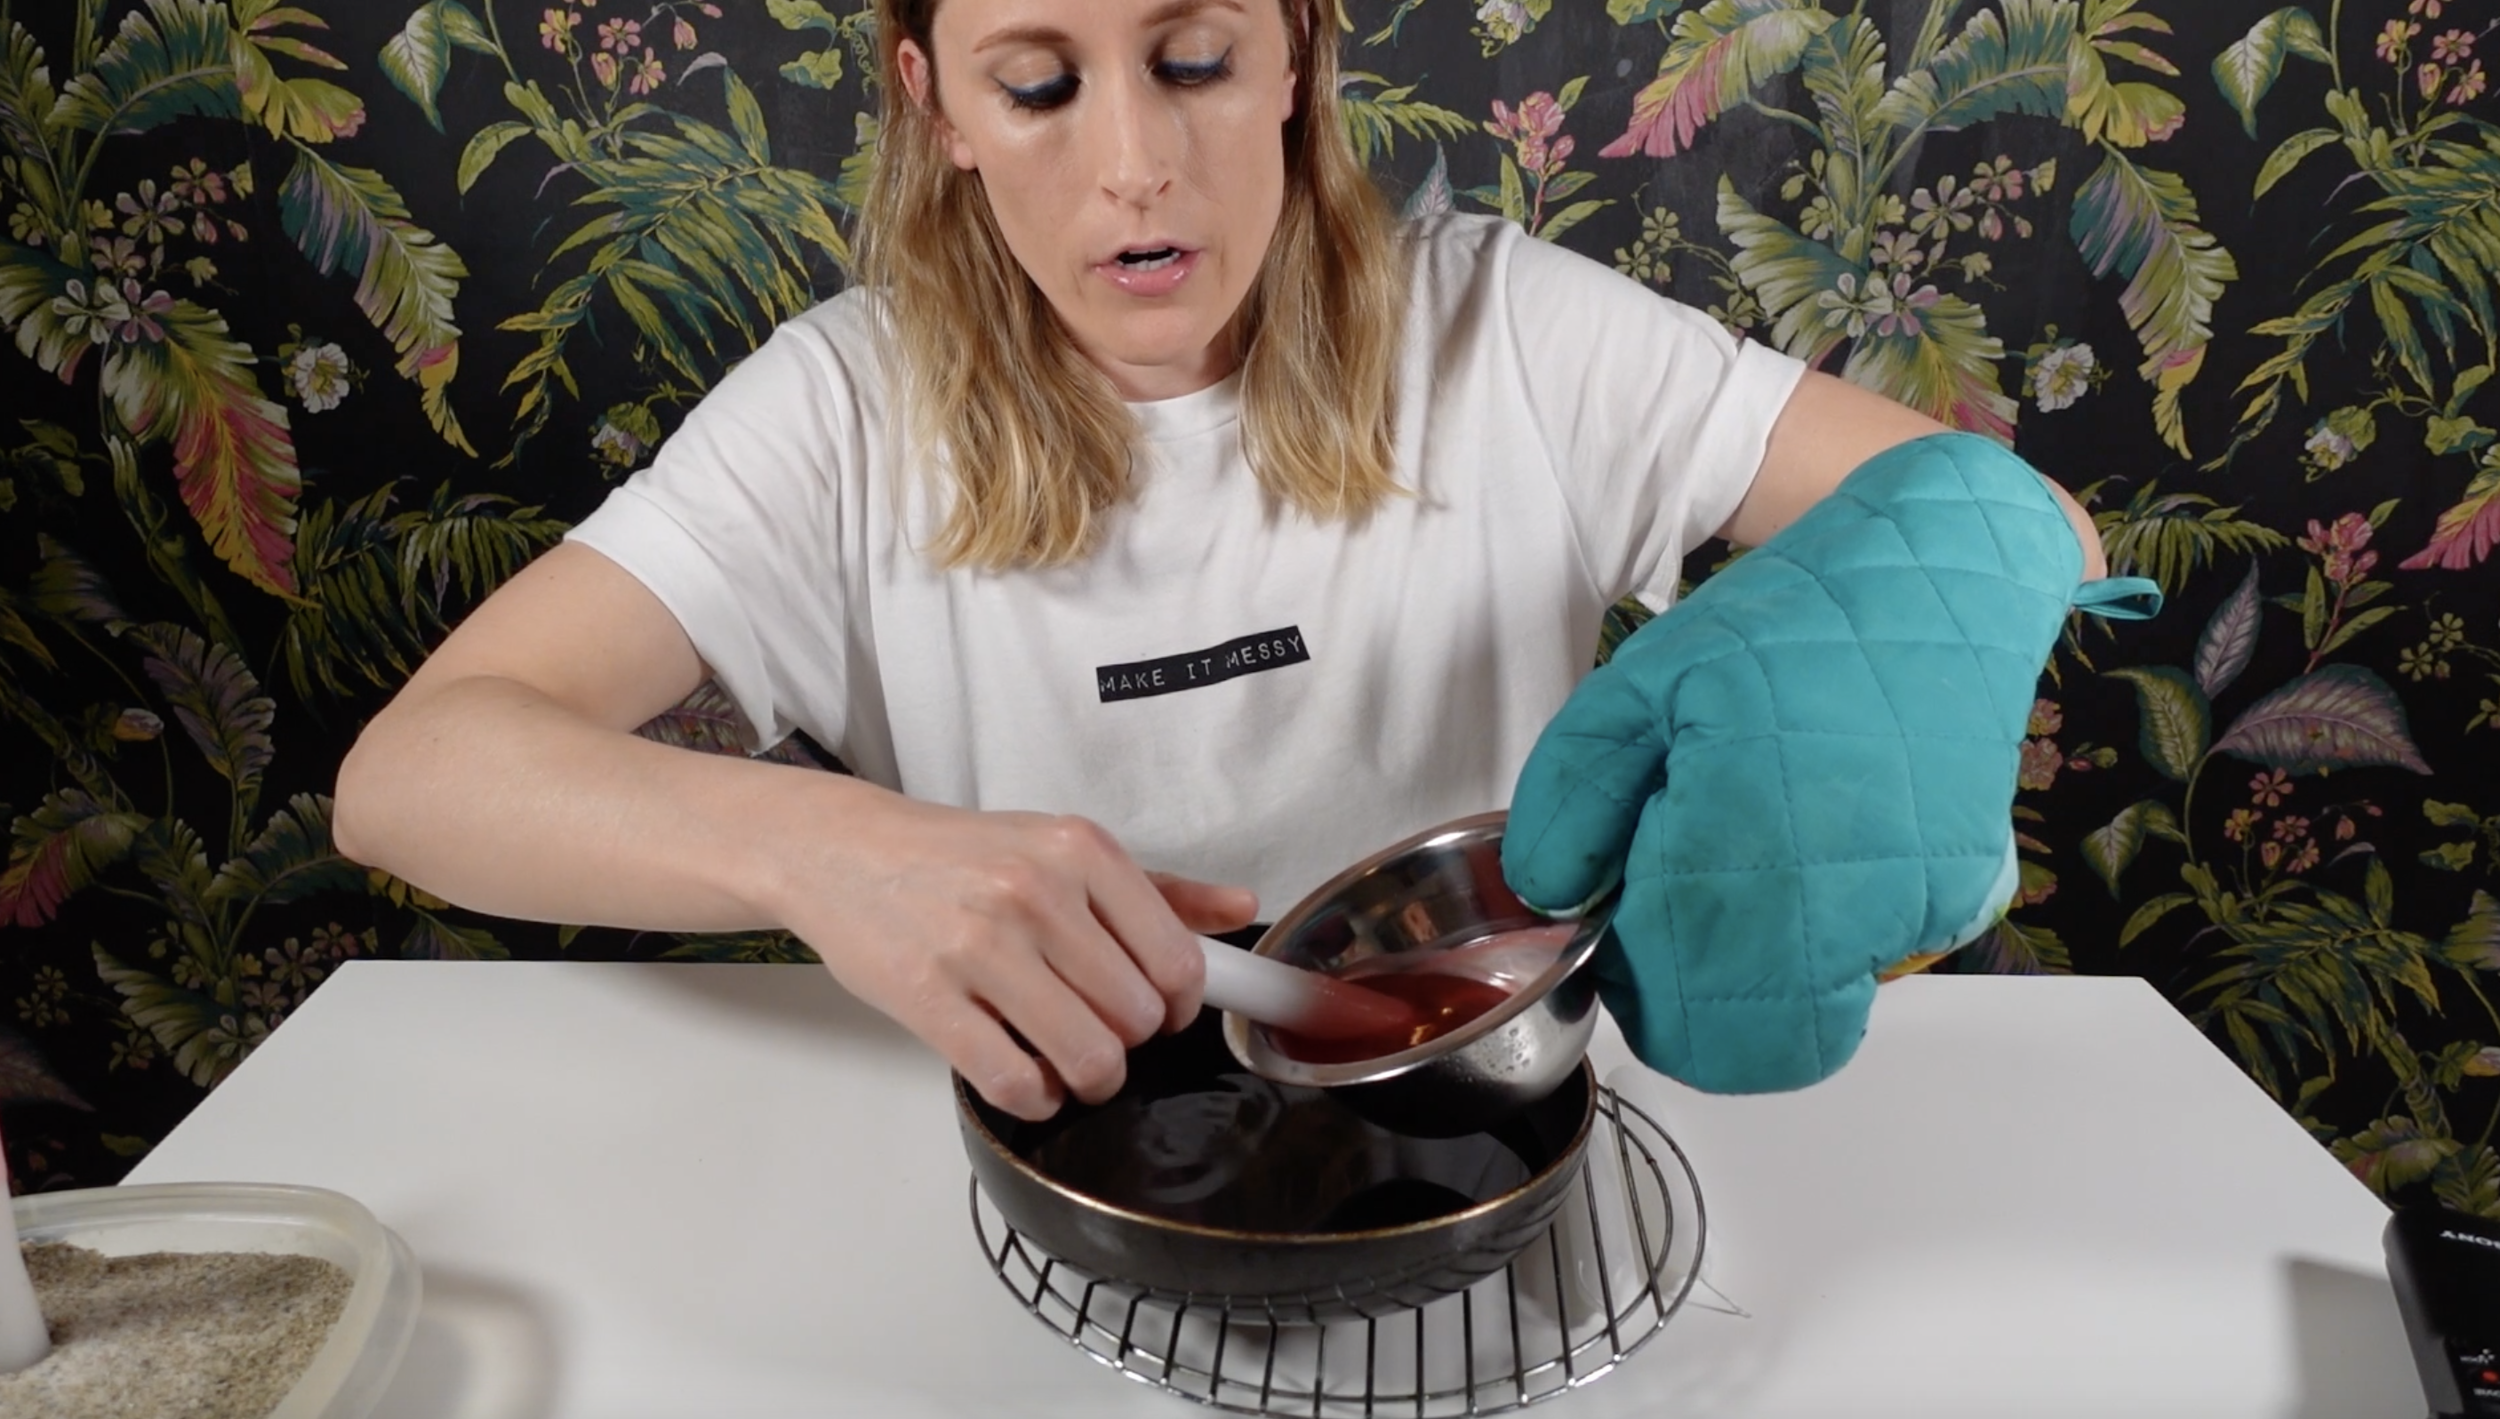
To melt the wax, you want to create your own double boiler situation. Fill a shallow pan with water and bring to a boil. Place wax melts in a metal bowl (or small pan), then place the metal bowl in the water. DO NOT LET THE WATER GET INTO YOUR WAX. Luckily, the melts will melt pretty quickly.
STEP 2: Dip your white tapers.
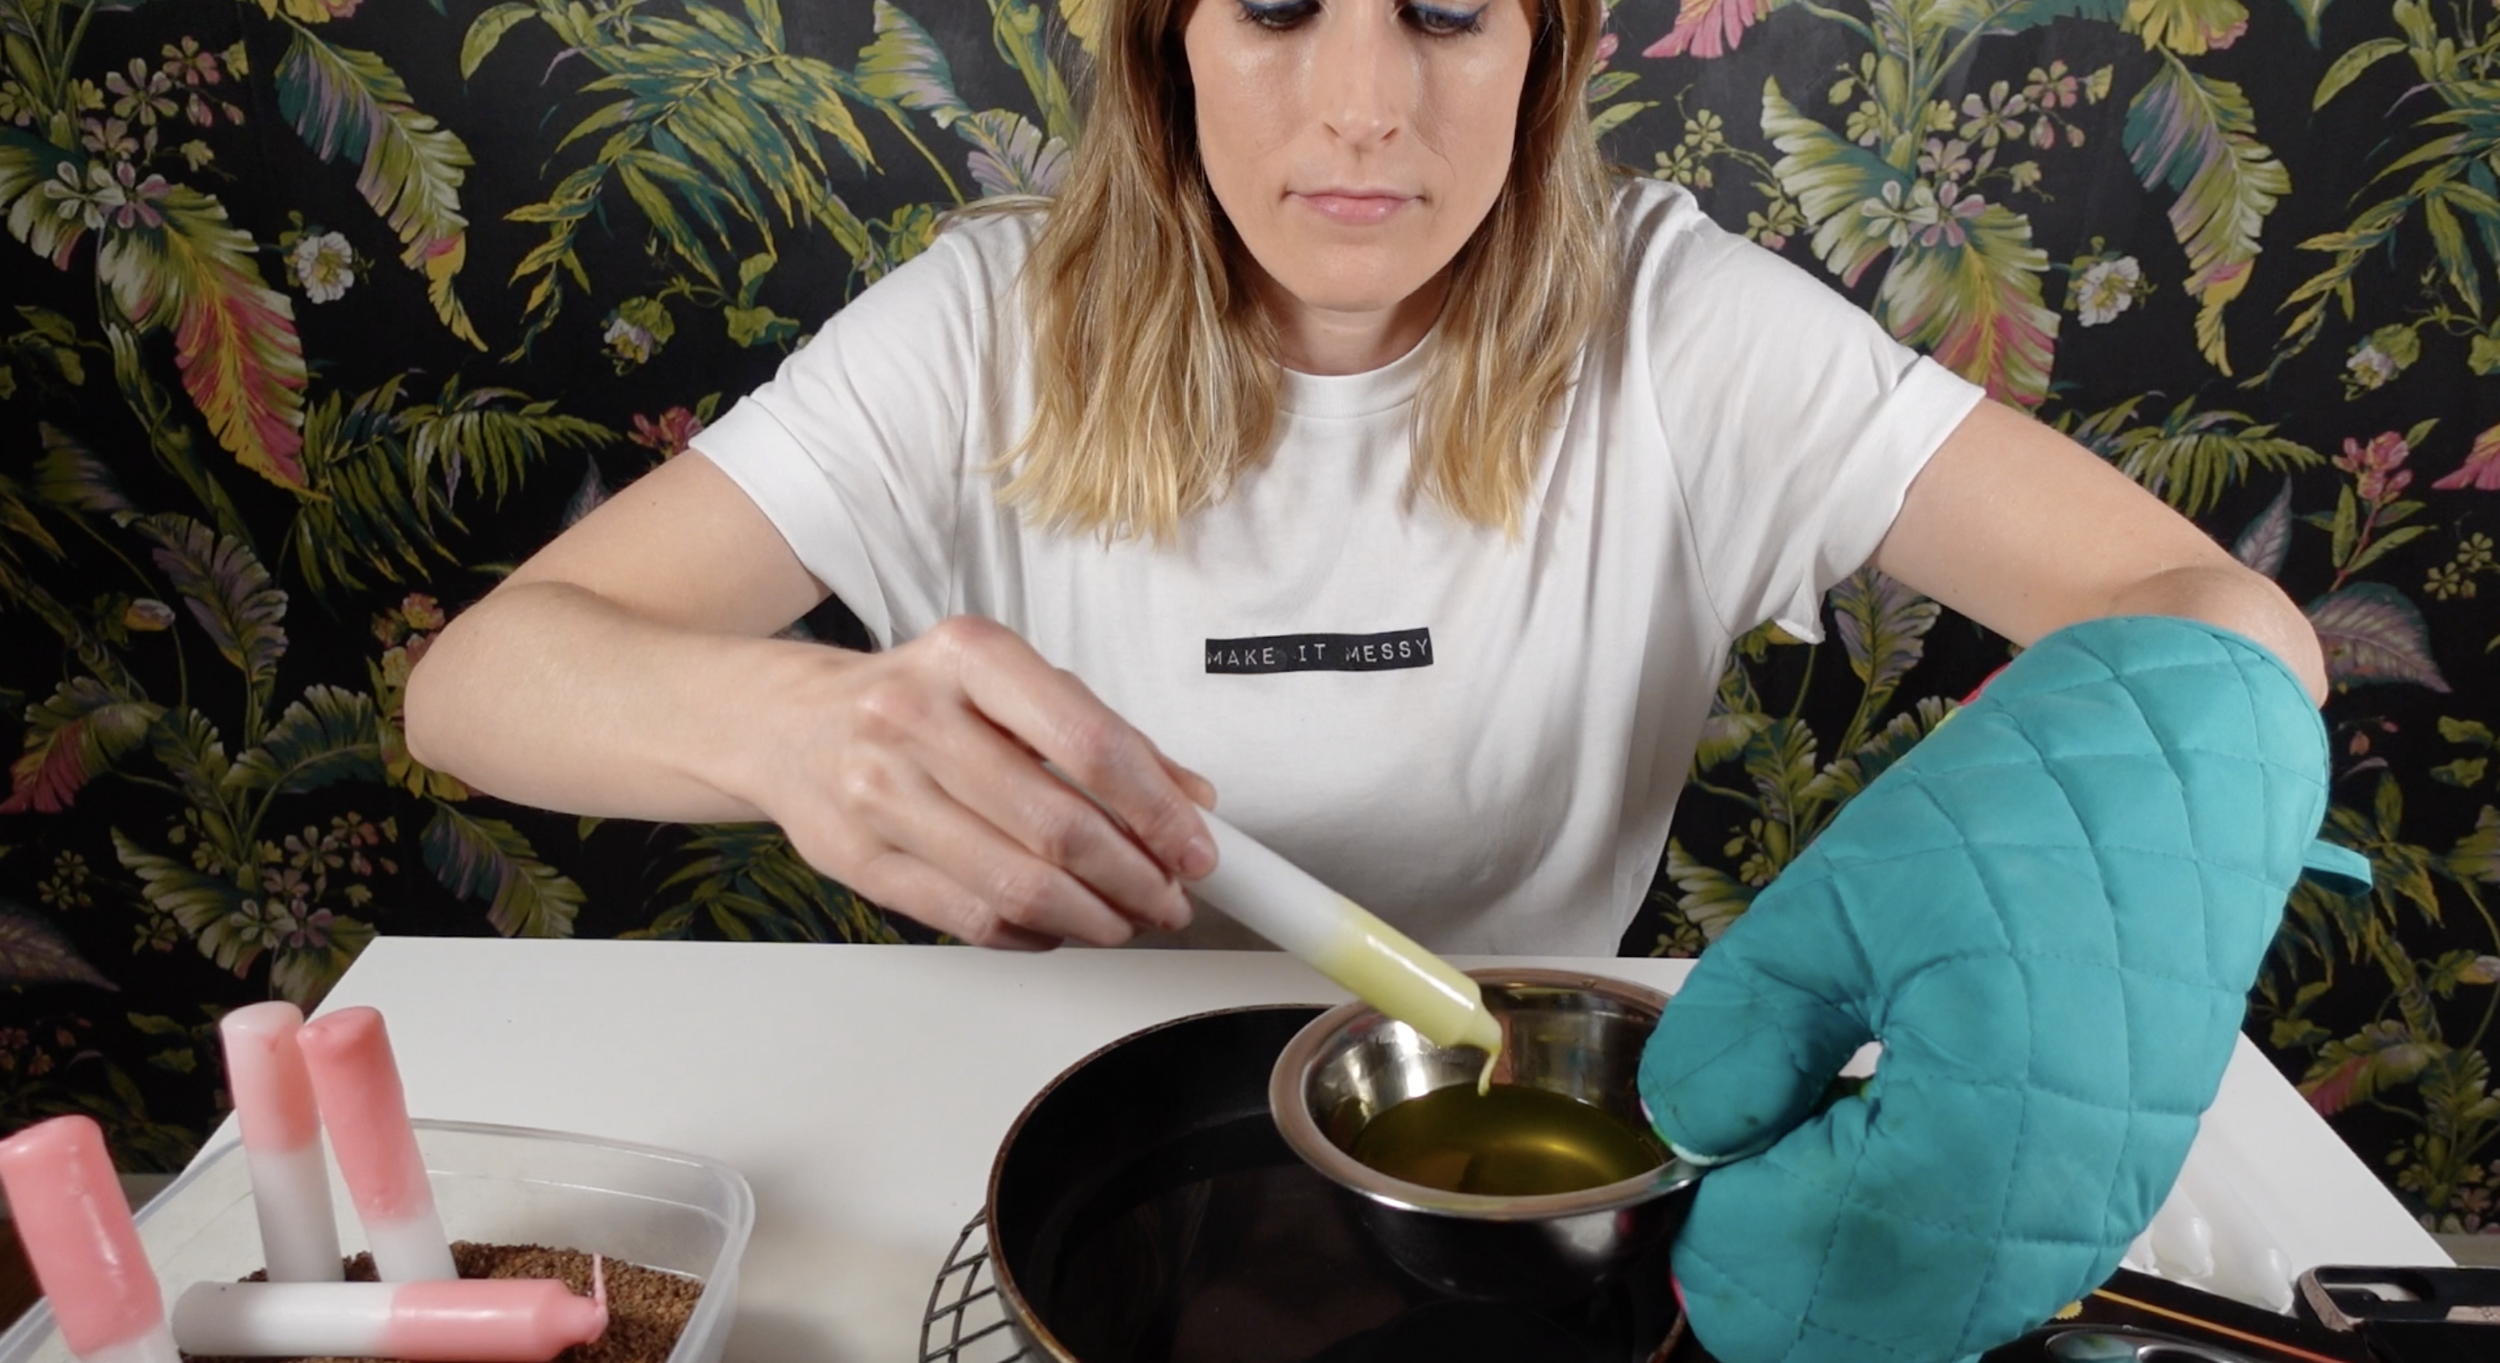
Place your metal bowl on a trivet, then get to dipping your tapers. The wax melts don’t solidify as quickly as you’d think. If they do, you can just pop them back in the pan with boiling water. You can do half dip designs, dip each end, or even drizzle the colored wax over your tapers. I did a mix of half dips and full dips on both ends. I especially love that design because you can make a dope ombre design that also gives you popsicle vibes.
STEP 3: Let tapers dry in your bowl of rice.
Let each taper stand in your bowl of rice while it dries, then flip over and dip the other side (if you like). The final result is pretty adorable.
If you want to see the magic happen in real-time, watch the full episode and like & subscribe to Laugh Cry DIY on YouTube. You can also catch me on the @LaughCryDIY Instagram! Otherwise, enjoy more projects below.
✌️—Katy


